I was given a cabinet. Let me tell ya, it's ugly! It doesn't go with my style. Not that I have one. It's just not, pretty, country, or my color.
But, it's FREE!
Who doesn't like free? I sometimes do and this cabinet was one of them. I can almost picture this thing done. Let's get started. I already have a place in my great room for it. I can see it now all done and pretty!
 This is the cabinet.
The plan is to take everything off and sand it down.
 I want to remove the glass. I already know it's not going back in.
 Maybe repaint these knobs??
 I am sure, I will reuse the decorative pieces.
But, for the top going back on, NOT.
 Most everything came off pretty good.
 Looks like something not right on the top. I plan on removing it.
 I had Tim help me remove these. These were on really good. I was nervous that they would break.
But, it's FREE!
Who doesn't like free? I sometimes do and this cabinet was one of them. I can almost picture this thing done. Let's get started. I already have a place in my great room for it. I can see it now all done and pretty!

The plan is to take everything off and sand it down.


But, for the top going back on, NOT.


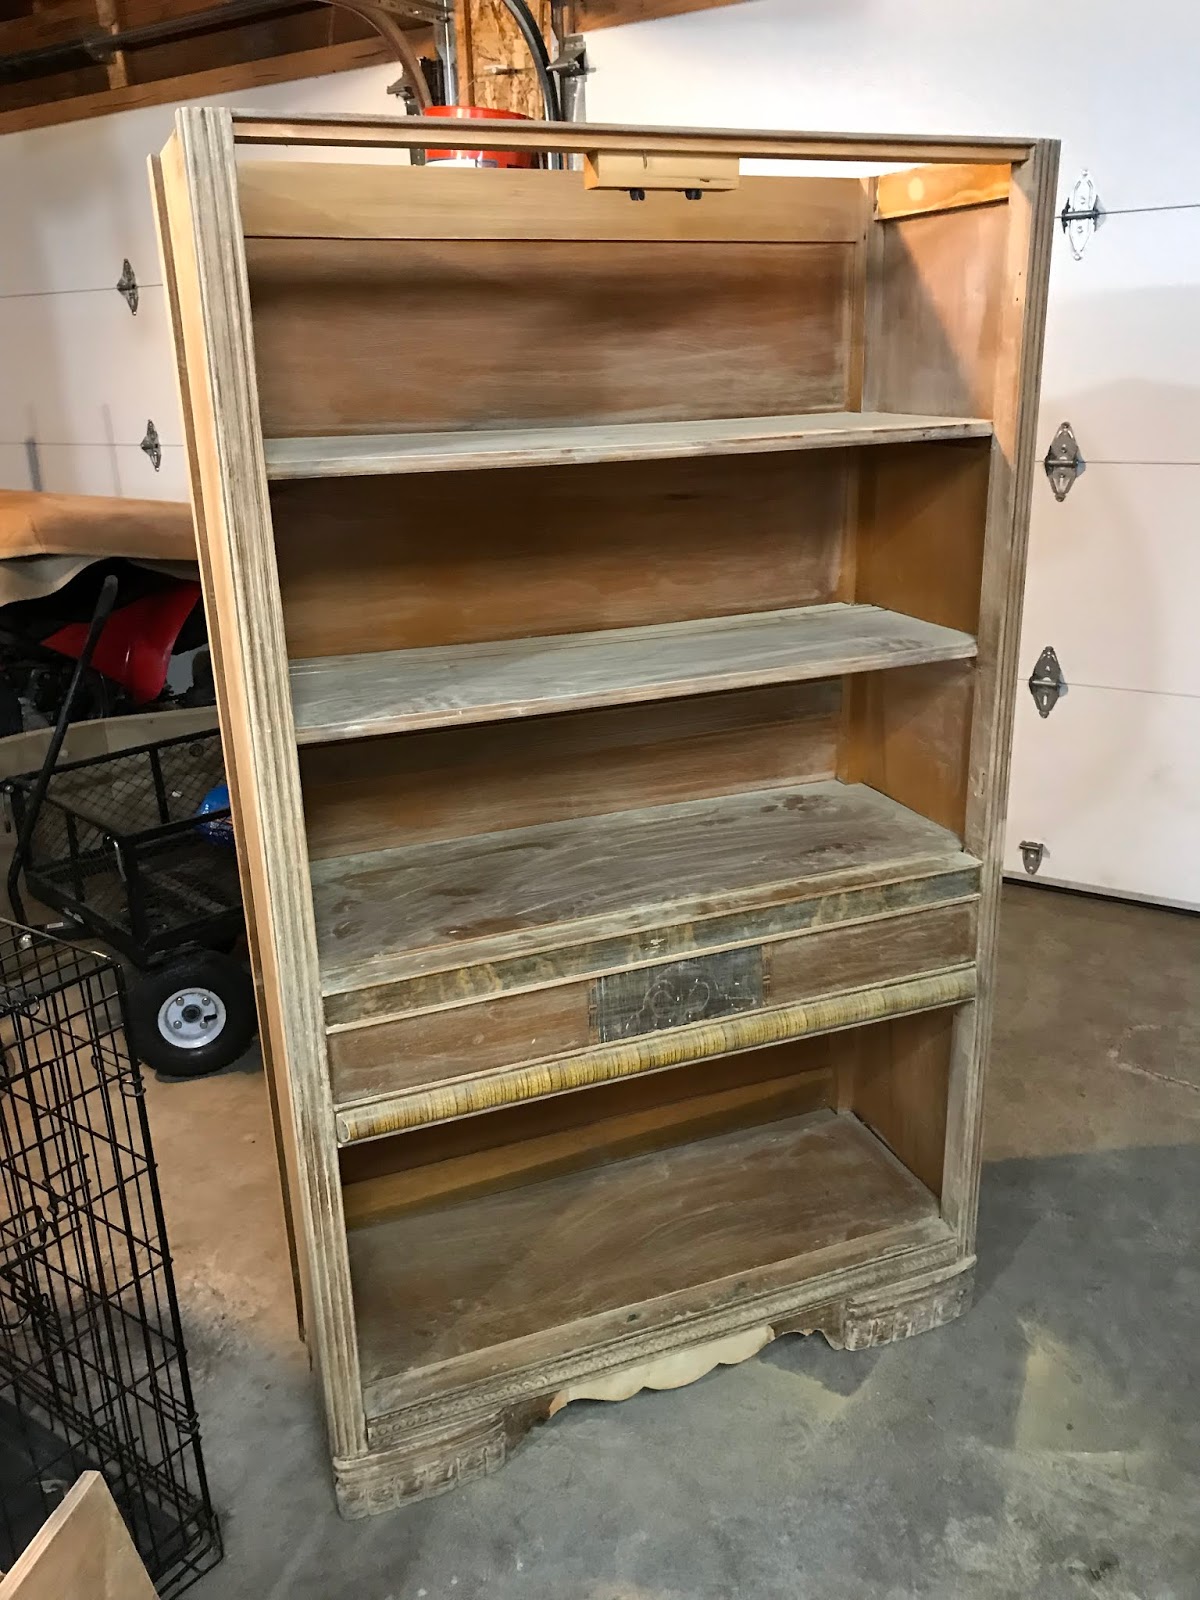
I got most of all the pieces sanded down. Something is just not sitting right with the cabinet. I will need Tim to assist me on how to fix this. The cabinets back is out a inch or so. It leaves a big gap.
It just seems like the cabinet was dropped at some point. I don't really have the history on it. Also on the left bottom side, the veneer got wet (before me) and is extremely bubbly. Not sure if I want to remove all of the veneer, part of it or replace it.

The top piece and the doors are all sanded.

I didn't like where the lower cabinet door handles were. Tim helped me fill them in with a dowel rod and we cut the extra ends off.
Painting will cover it all up.

Today Tim is helping me. He is gonna show me how to use a pocket hole jig.


Tim said this would be the best way to put the top back on. This way there isn't any holes on the top of the cabinet. I agreed..

This is what the pocket hole jig does.
You screw the screw up to the cabinet. It hides the screw nothing sticking out.

We did 3 across the back side.

Tim and I noticed a big gap after we put the top on. The top board is warped. I decided not to replace it but still use the best way we can. He came up with clamping it down and putting in pocket holes on the inside.


You can see the big gap between the boards.

Two pocket holes on both ends. The clamps will help hold the top board down while the screw goes in.


It worked!
Side 1

Side 2


This thing is almost ready to paint.

Today I plan on getting one coat of paint on. Tim will help me replace the veneer on the lower left side of the cabinet later. We still need to go to town and pick it up.


I am using chalk paint grey.
I have never used this stuff before. I hope I like the end result.


Tim and I finally made it to town and picked up the veneer to replace. He helped me glue it down so I could paint the rest of it.


Amazing!
You can barely see where we replaced the veneer.

Tim painted the hinges and cabinet clips.
I found some new knobs instead.

Replacing the glass with chicken wire.


Still need to put on the hinges.
But I had to see what it would like.
BEFORE

AFTER
It's a nice addition to our great room. Still need to put the decorative pieces on. Working on stripping them.
BEFORE

AFTER
It's a nice addition to our great room. Still need to put the decorative pieces on. Working on stripping them.
No comments:
Post a Comment